WordPress vs. Elementor — What’s the Difference?
- WordPress is the “engine” of your site. It handles logins, users, pages, blog posts, and settings.
- Elementor is the “builder” you use to design and edit how each page looks. Think of it as the paintbrush and toolbox sitting on top of WordPress.
Rule of thumb: If you want to change how something looks → use Elementor. If you want to create or remove entire pages/users → use WordPress.
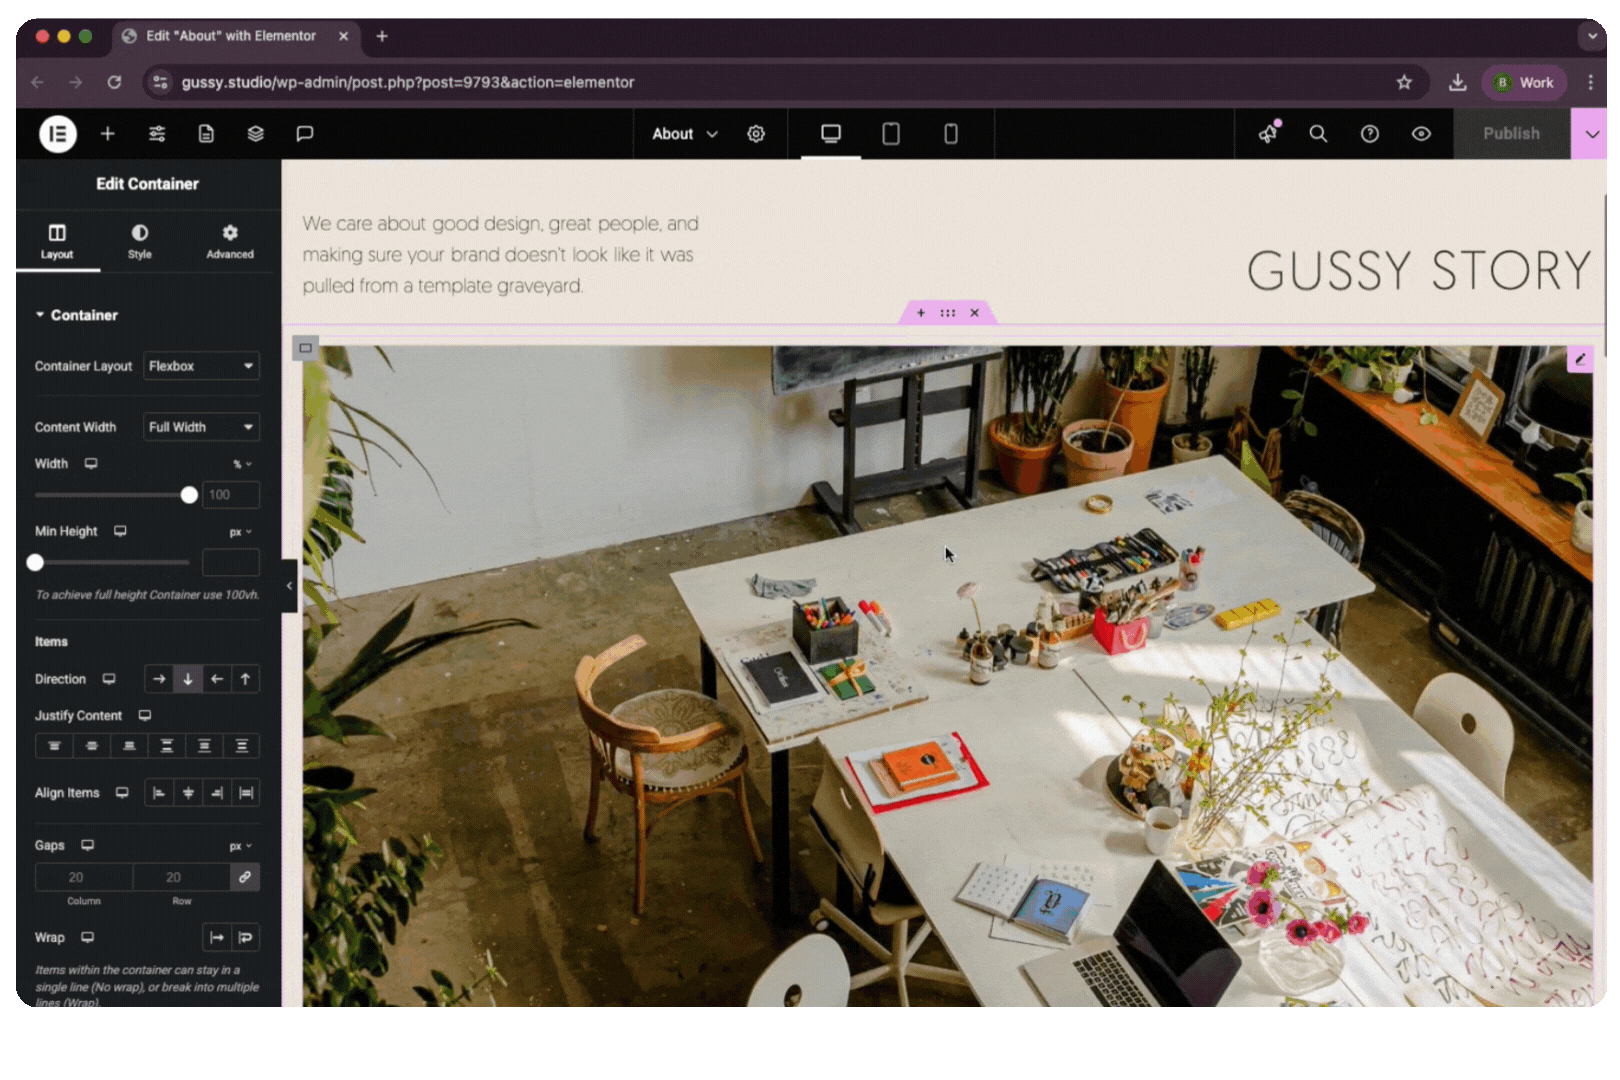
Updating a Photo
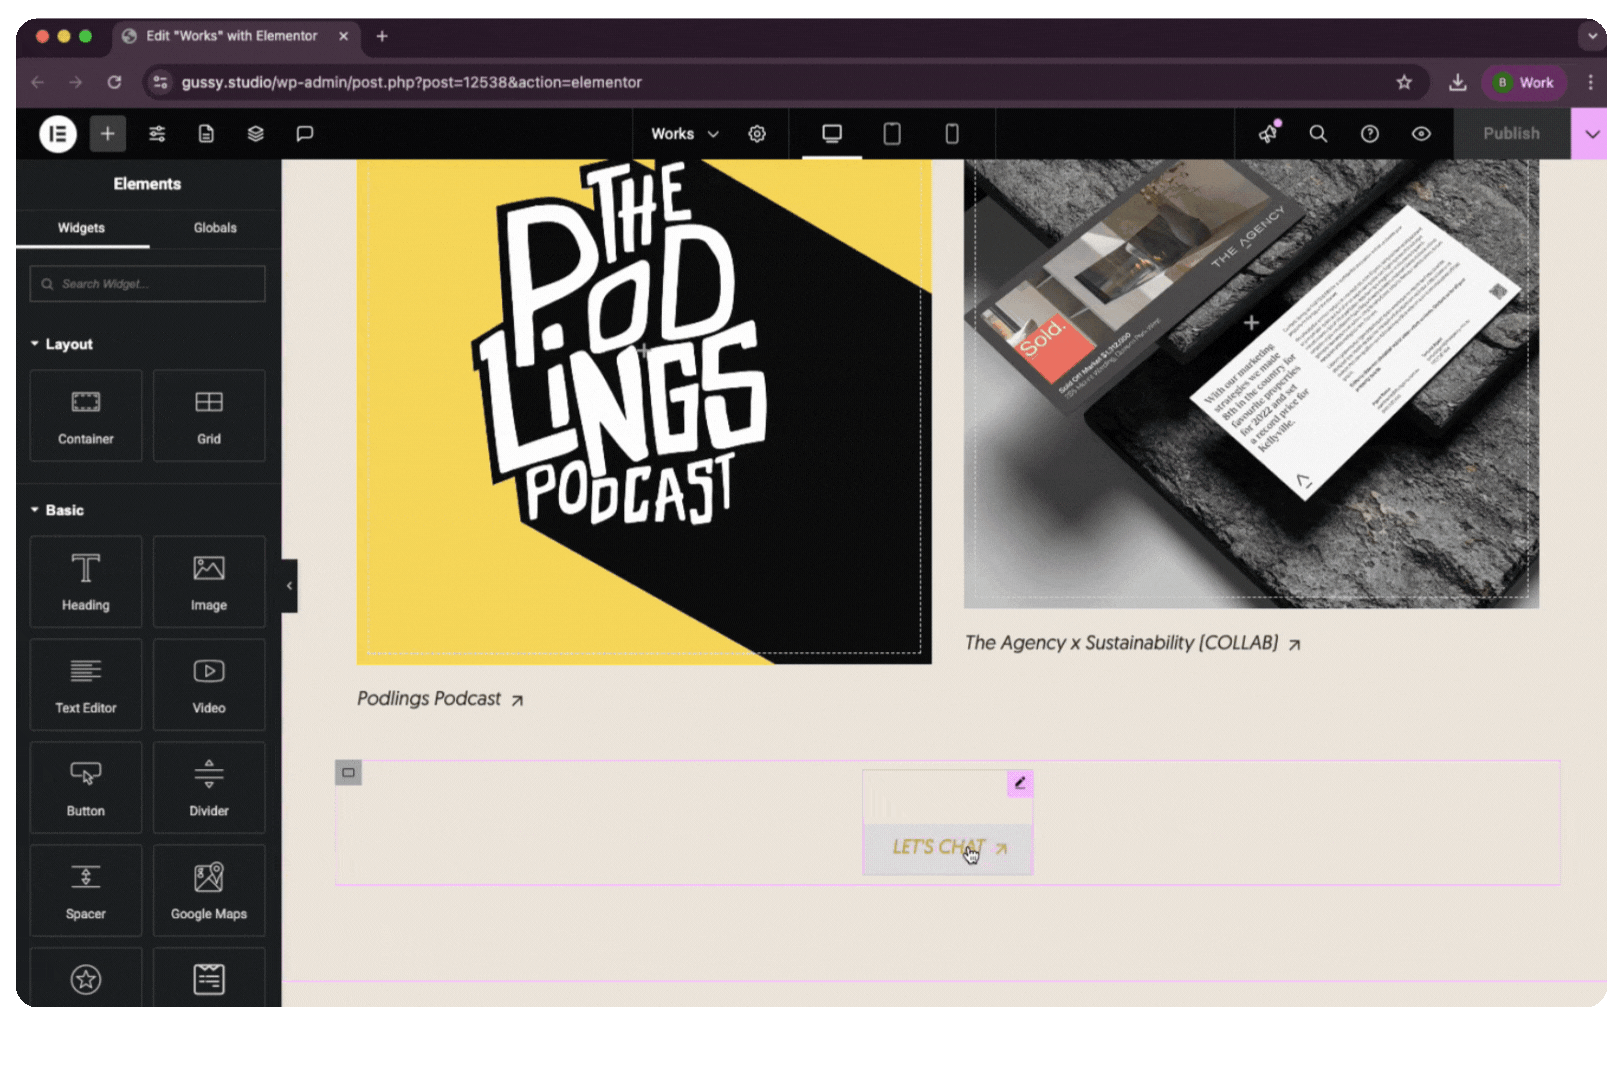
1. Log in → go to the page you want to edit → click Edit with Elementor (big button at top).
2. Hover over the image you want to change → click the pencil/edit icon.
3. In the left panel, under Image, click Choose Image.
4. Upload a new photo or pick one from the Media Library.
5. Click Update (bottom left) to save.
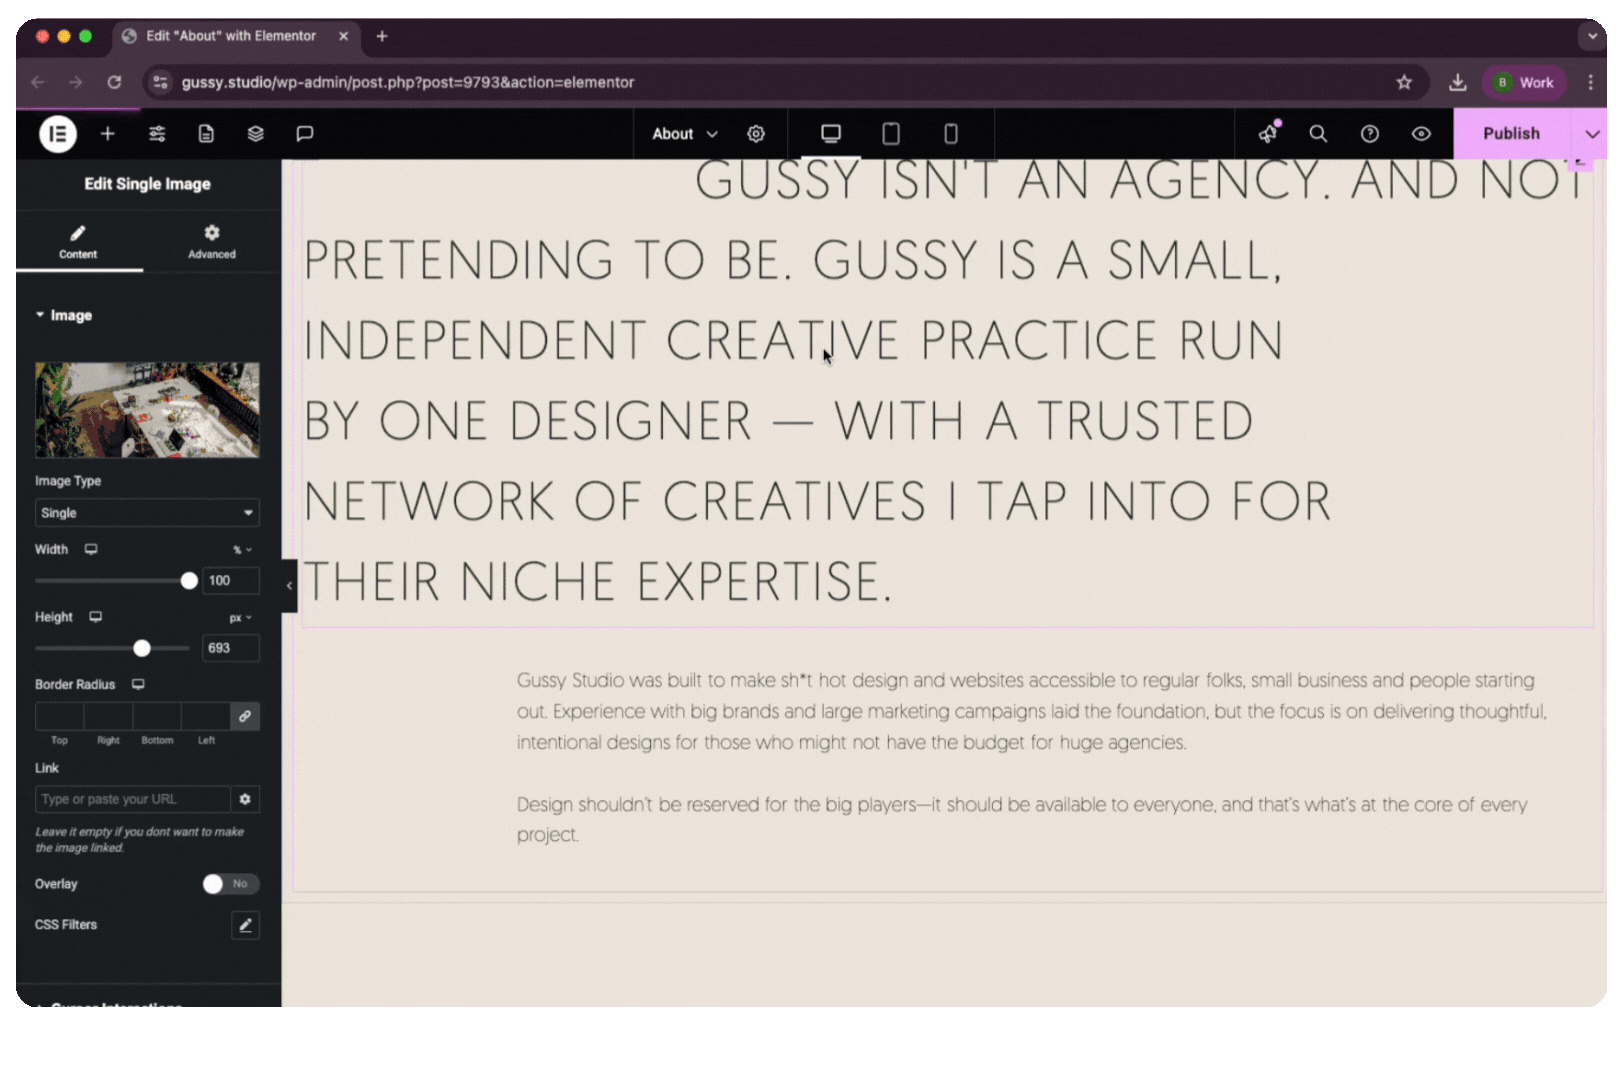
Updating Copy
1. Hover over the text you want to change → click inside the text box.
2. The left panel will show a text editor.
3. Type directly in the box (or directly on the page).
4. Click Update when done.
Pro tip: Keep text formatting simple (headings, paragraphs, bold/italic). It helps your site stay clean.
Editing Buttons or Links
1. Click the button you want to edit.
2. Left panel → under Content, update the text (e.g., “Book Now”).
3. Add/change the Link (where the button takes people).
4. Click Update.
Other Handy Basics
– Undo a mistake: Press Ctrl + Z (Windows) or Command + Z (Mac).
– Revision History: Left panel → bottom → click History to roll back to a previous version.
– Preview before publishing: Bottom left → eye icon = Preview.
Final Note
Elementor is very visual — if you can drag, drop, and type, you can use it. The golden rule: always click “Update” when you’re happy, and don’t be afraid to play around (you can always undo).