Welcome to your website HQ! Whether you’ve just launched your new site or you’re returning to make a few updates, this guide will walk you through the core WordPress functions you need to know. No fluff, no jargon—just the basics to help you stay in control of your site.
Logging in to Your Site
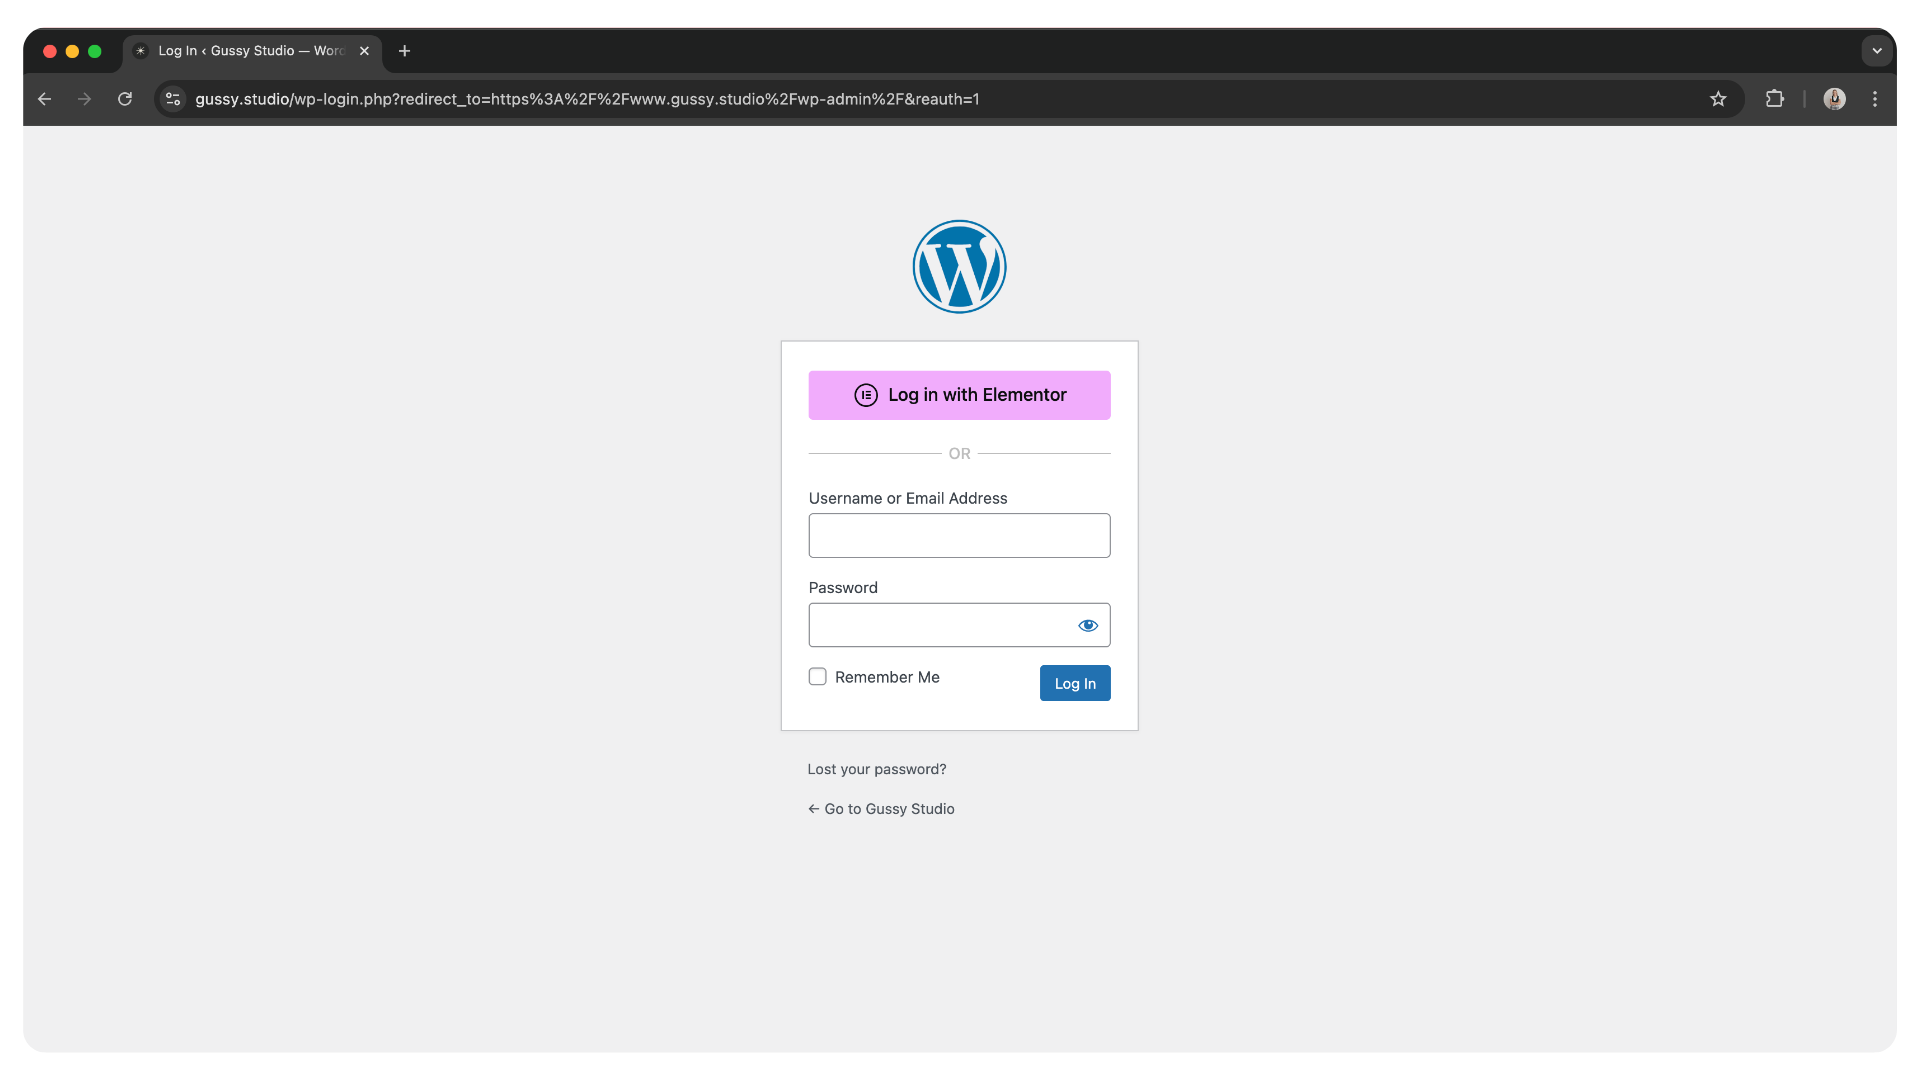
1. Open your browser and type in: www.yourwebsite.com/wp-admin
2. Enter your username/email and password.
3. Click Log In.
Tip: Save this page as a bookmark so you don’t need to remember the link every time.
Changing Your Email or Password
1. Once logged in, look at the left-hand menu → click Users > Profile.
2. Scroll down to the section called Account Management.
3. To change email: type in your new email in the Email field, then click Update Profile at the bottom.
4. To change password: click Generate Password → type in your new password → click Update Profile.
Choose something secure but easy for you to remember.
Adding or Removing a User
Add a User:
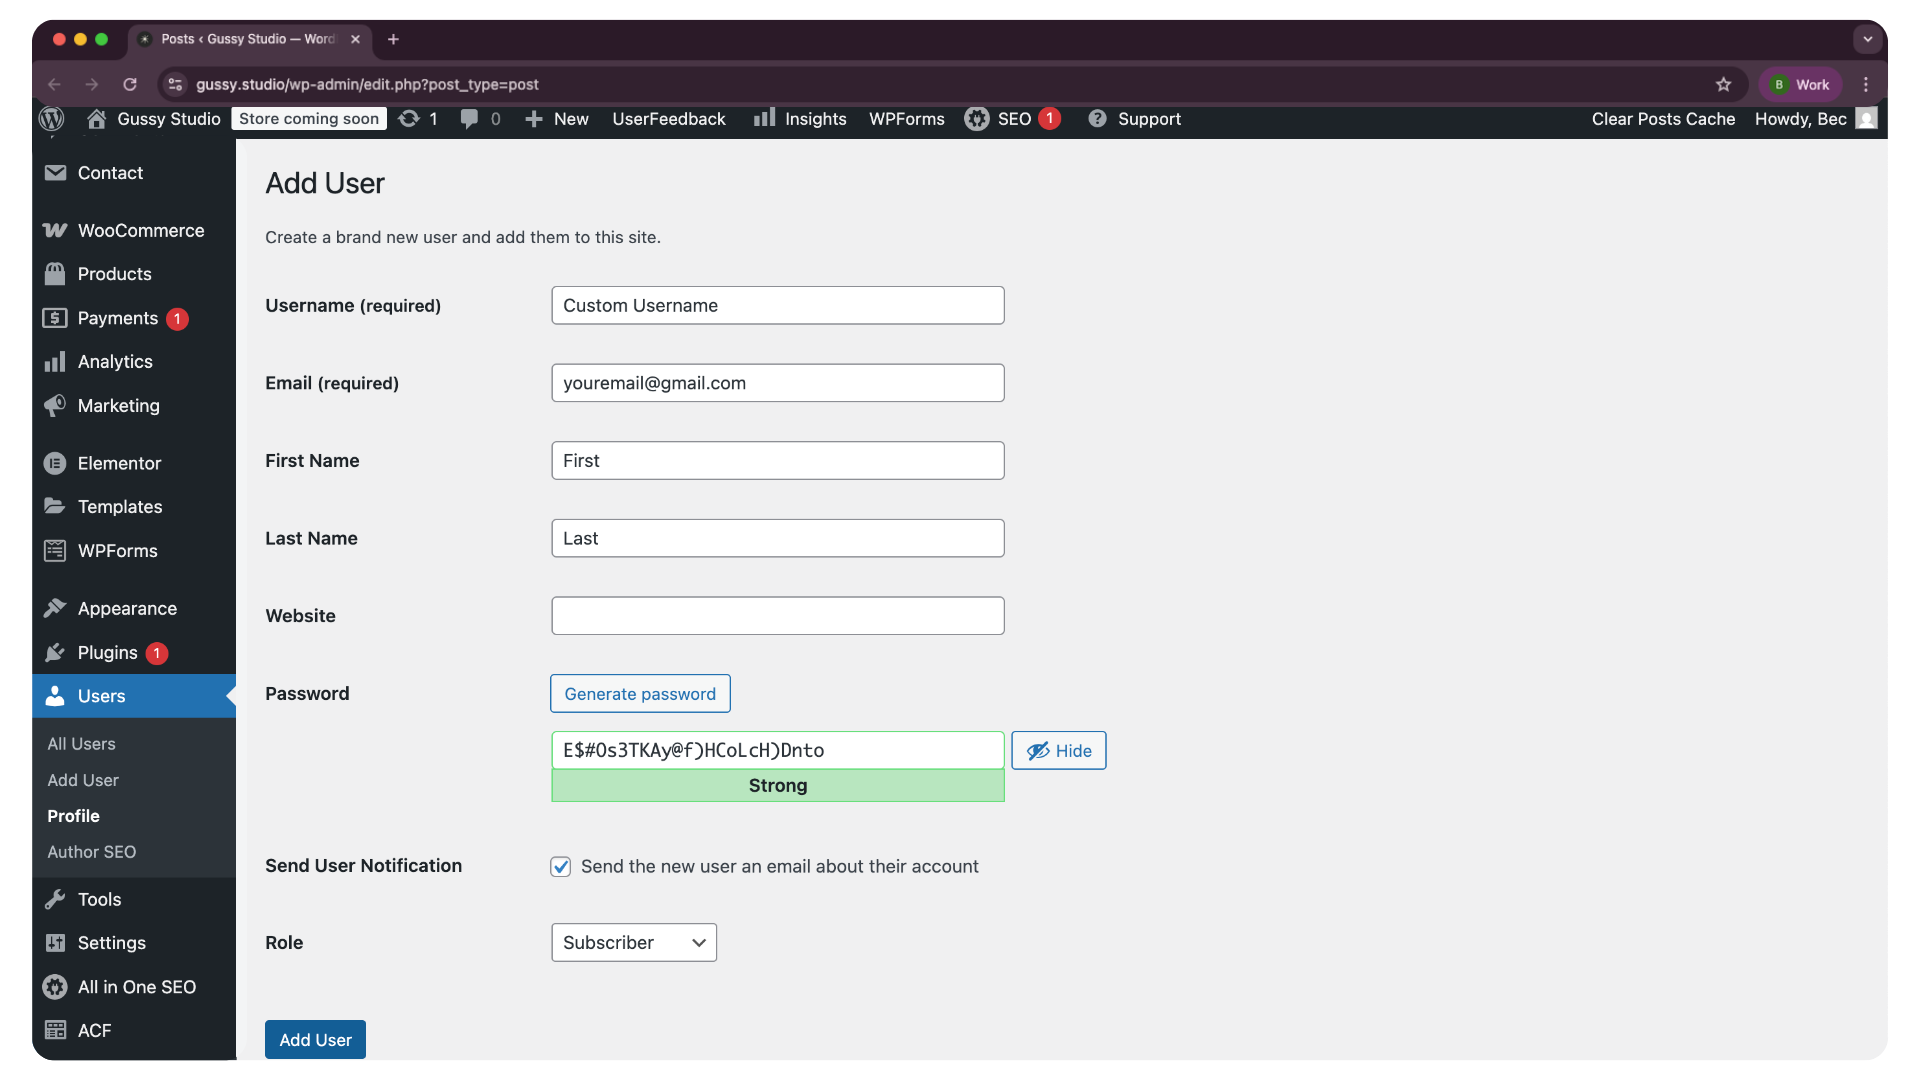
1. Left menu → Users > Add New.
2. Fill in the details (name, email).
3. Choose a role (Admin = full control, Editor = content only).
4. Click Add New User.
Remove a User:
1. Left menu → Users > All Users.
2. Hover over their name → click Delete.
3. Confirm.
Only give “Admin” access to people you fully trust.

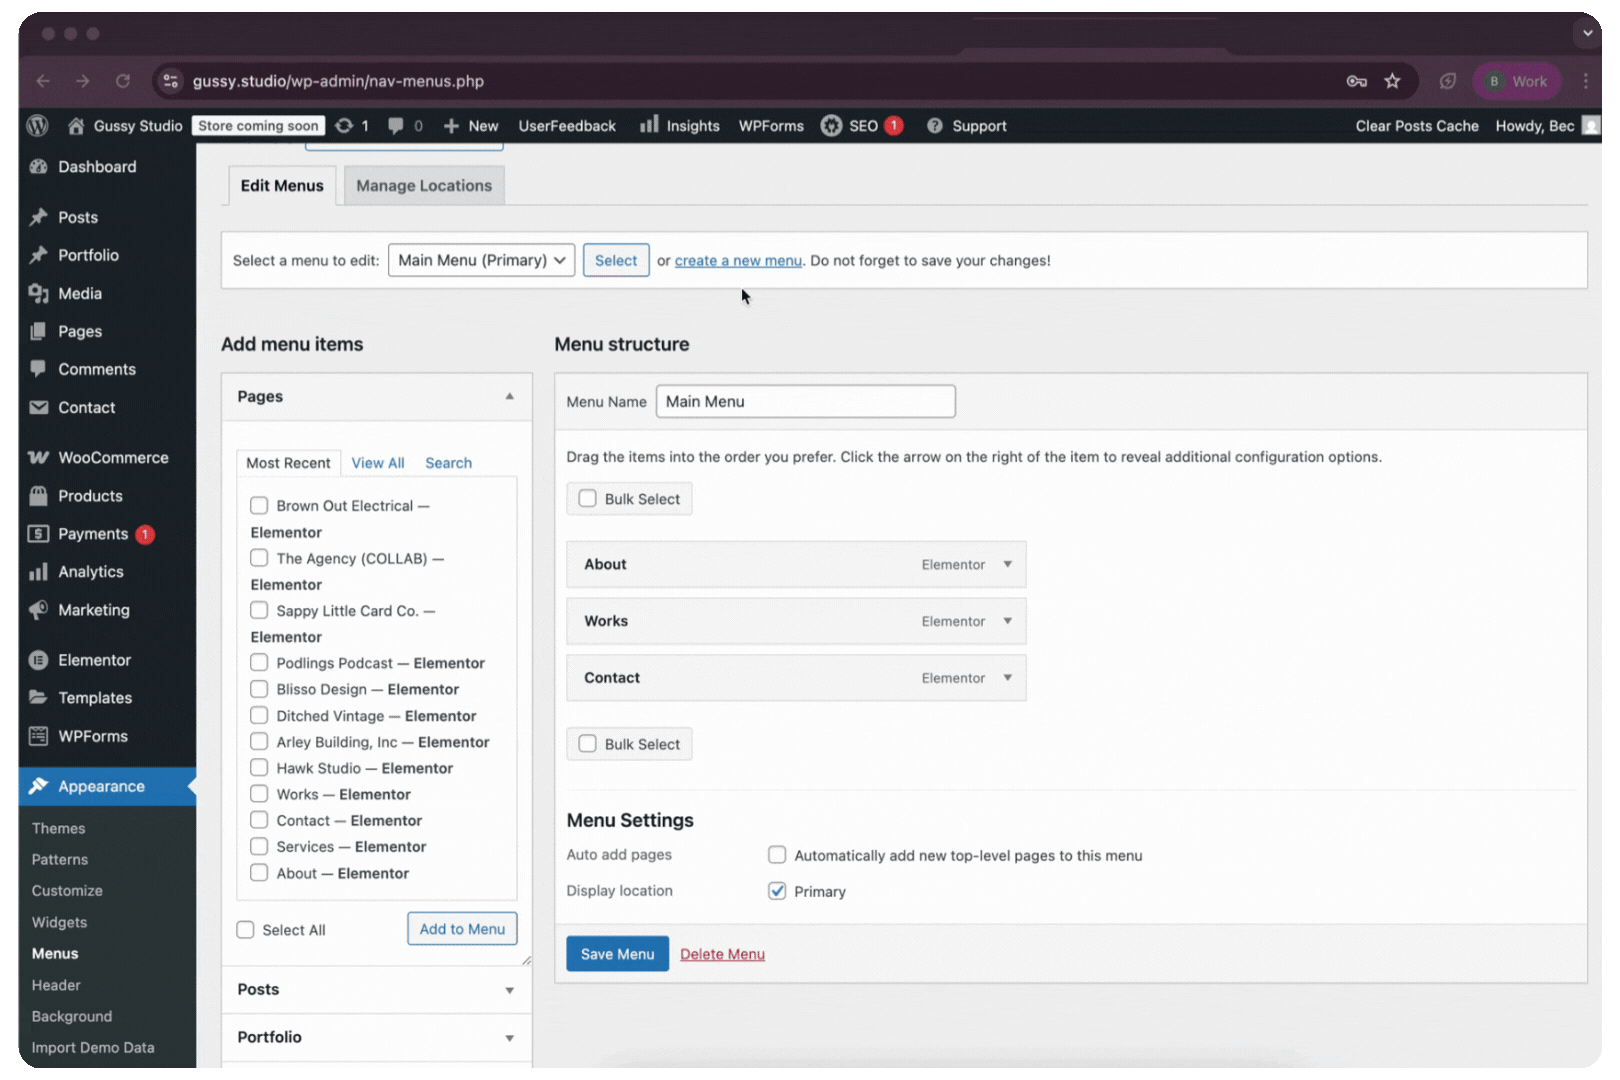
Changing Your Menu Items
1. Left menu → Appearance > Menus.
2. Select the menu you want to edit (usually called “Main Menu”).
3. To add a page: check the box next to the page you want → click Add to Menu.
4. To remove a page: click the little arrow on that menu item → click Remove.
5. Drag and drop to rearrange the order.
6. Click Save Menu.
Adding or Removing a Page
Add a Page:
1. Left menu → Pages > Add New.
2. Give it a title (e.g. “About Us”).
3. Add your content in the editor.
4. Click Publish.
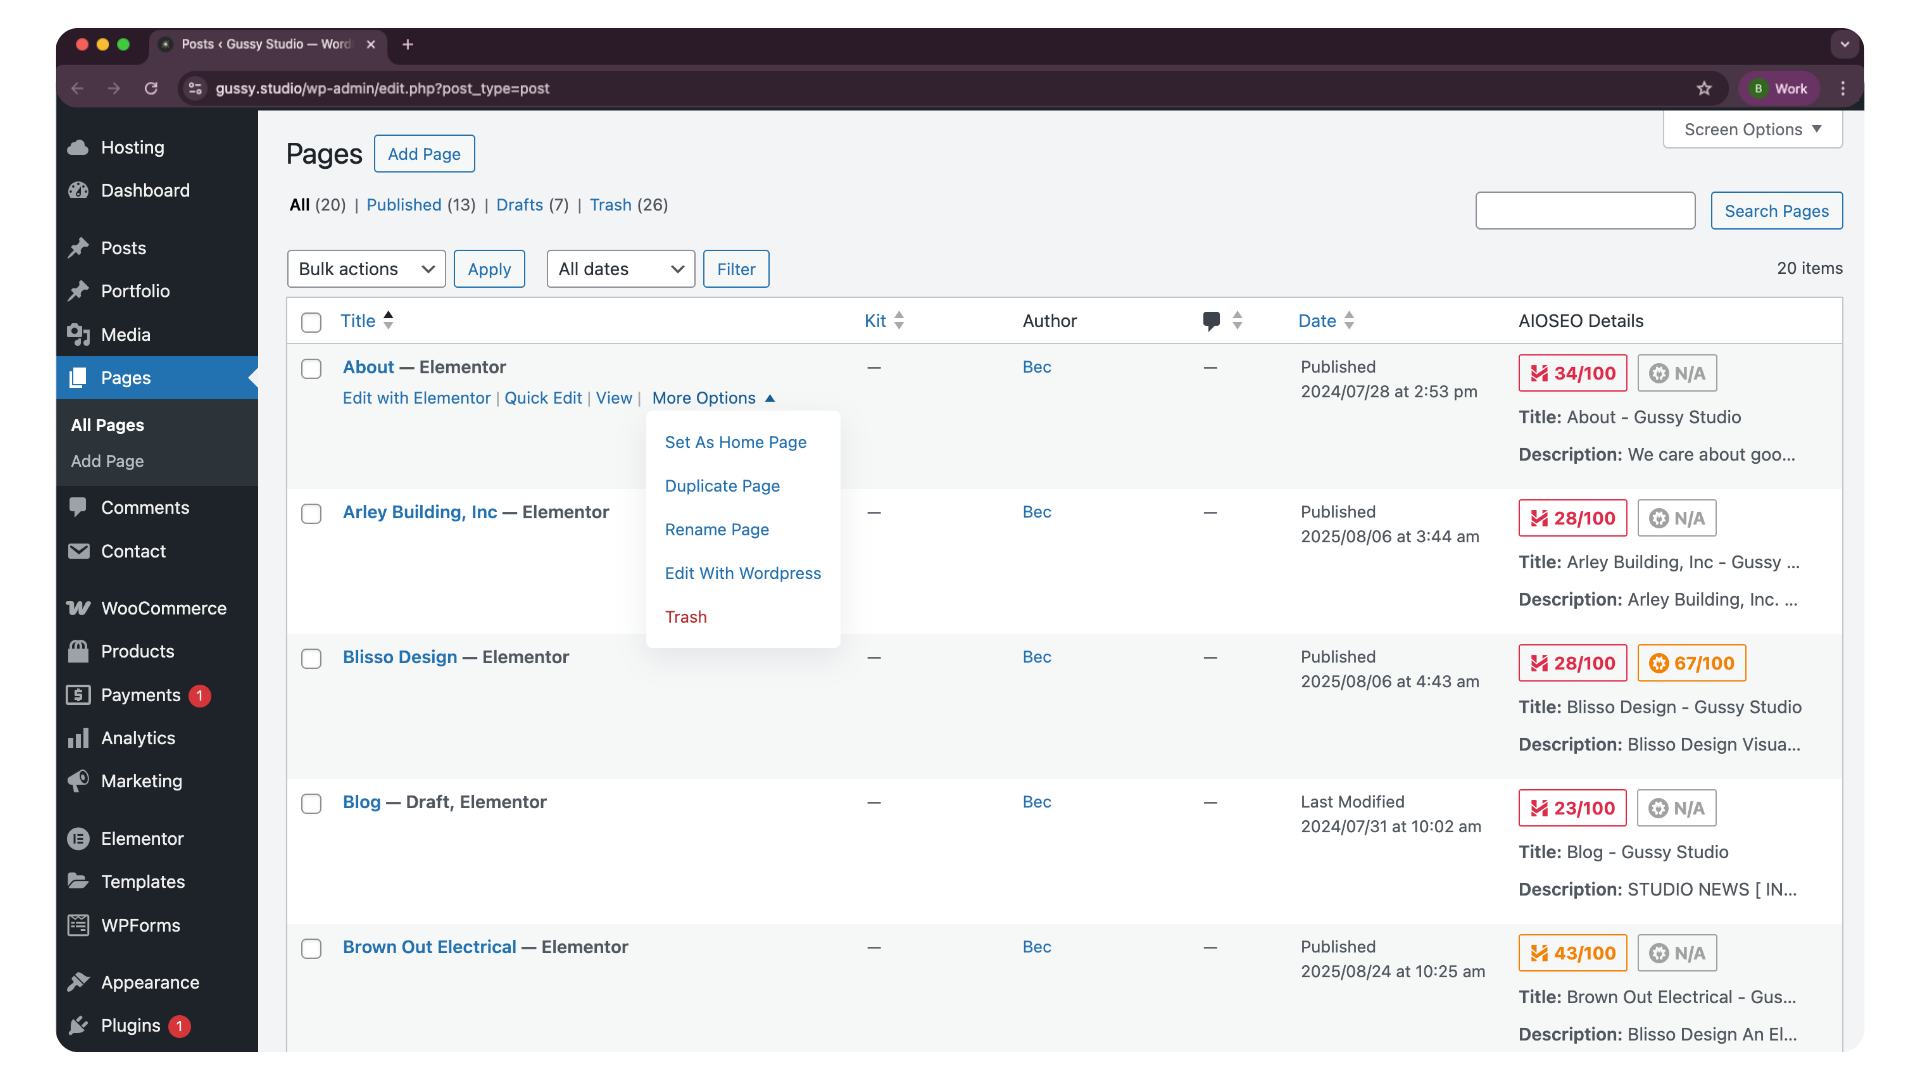
Remove a Page:
1. Left menu → Pages > All Pages.
2. Hover over the page → click Trash.
Pages can be restored from the Trash if you change your mind.
Other Basics You Might Need
Update Your Site Title or Tagline:
Left menu → Settings > General → change “Site Title” or “Tagline” → click Save Changes.
Check Comments (if enabled):
Left menu → Comments → approve or delete as needed.
WooCommerce Basics (if you have a shop)
Updating a Product
1. Left menu → Products > All Products.
2. Hover over the product → click Edit.
3. Update text, price, or images.
4. Click Update.
Adding a New Product
1. Left menu → Products > Add New.
2. Add the product name, description, price, and images.
3. Set stock levels (scroll down to “Inventory”).
41. Click Publish.
Checking on a Product
– Left menu → Products > All Products.
– Use the search bar to find the product and see details like stock status, price, and category.
Stock Levels
– While editing a product, scroll to the Inventory section.
– Update the Stock Quantity number.
– Click Update to save.
Tip: If you sell variations (sizes, colors), each variation can have its own stock level.
Final Note
You really don’t need to touch the rest of the WordPress dashboard. Stick to these basics and you’ll keep your site running smoothly without breaking anything. If you’d like more in-depth help, I’m always here for ongoing support.